
clir Voice · Podcasting
Podcast Mic Setup: Placement, Gain and Room Tips
Podcast mic setup in six steps: USB or XLR, dynamic or condenser, mic distance, gain, headphones and the room, plus how to fix what is left.
A good podcast mic setup comes down to four things: the right connection (USB for one or two people, XLR with an interface for more), the mic close to your mouth (about 4 to 6 inches, 10 to 15 cm, for a dynamic mic), input gain set so your loudest laugh never hits the top of the meter, and a soft, quiet room. Get those right and a modest microphone sounds better than an expensive one used badly.
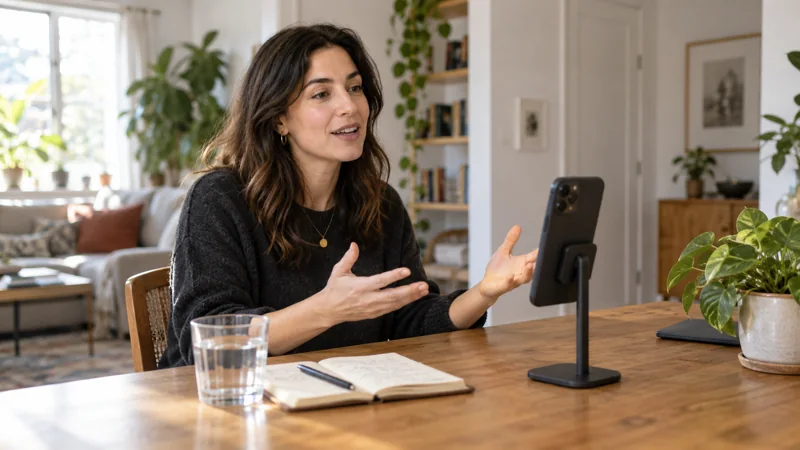
This guide walks through the setup in the order it matters. If you are recording on a phone only, how to record a podcast on iPhone covers that path in detail.
Step 1: Pick USB, XLR or both
USB microphones plug straight into a computer (some also work with a USB-C iPhone or iPad). The microphone, preamp and converter are in one body, so there is nothing else to buy. They suit one host, or two hosts recording on separate computers.
XLR microphones need an audio interface, mixer or field recorder to power them and turn the signal into digital audio. That is an extra box and an extra cable, but it lets you run several mics into one recorder, each on its own track. XLR makes the most sense once three or more people record in the same room.
Dual-output microphones have both a USB and an XLR connector. The Samson Q2U and the Audio-Technica ATR2100x are frequently recommended examples. You can start on USB today and move the same mic to an interface later.
A practical rule: buy the simplest setup that records every voice on its own track. Every extra cable, interface and power supply is one more thing that can fail during a session.
Step 2: Choose dynamic or condenser
- Dynamic microphones pick up mostly what is close to them. In an untreated room (a bedroom, an office, a kitchen) that is what you want: less of the room and less of the street.
- Condenser microphones are more sensitive and capture more detail, but also more of the room. Many USB microphones are condensers. XLR condensers need phantom power (48 V) from the interface.
If your room echoes or you can hear traffic, start with a dynamic mic. If your room is already quiet and soft, a condenser can sound more open.
Step 3: Place the mic
Placement changes your sound more than any purchase.
- Find the front. Some mics are end-address (you speak into the top, like a handheld vocal mic). Others are side-address (you speak into the side, often marked with a logo or dot). Speaking into the wrong side is one of the most common setup mistakes. Check the manual if you are not sure.
- Set the distance. RØDE suggests about 4 to 6 inches (10 to 15 cm) from your mouth for a dynamic mic and about 6 to 8 inches (15 to 20 cm) for a condenser. Further away, you sound distant and the room gets louder.
- Angle it slightly. Point the mic at your mouth but speak a little past it, not straight into it. This keeps the bursts of air from "p" and "b" sounds (plosives) off the capsule.
- Use the proximity effect on purpose. The closer you get to most directional mics, the more bass they pick up. A little closer sounds warm, too close sounds boomy. Pick a distance and stay there.
- Mount it. A boom arm or desk stand keeps the distance constant and stops desk bumps reaching the mic. Holding a mic in your hand adds handling noise.
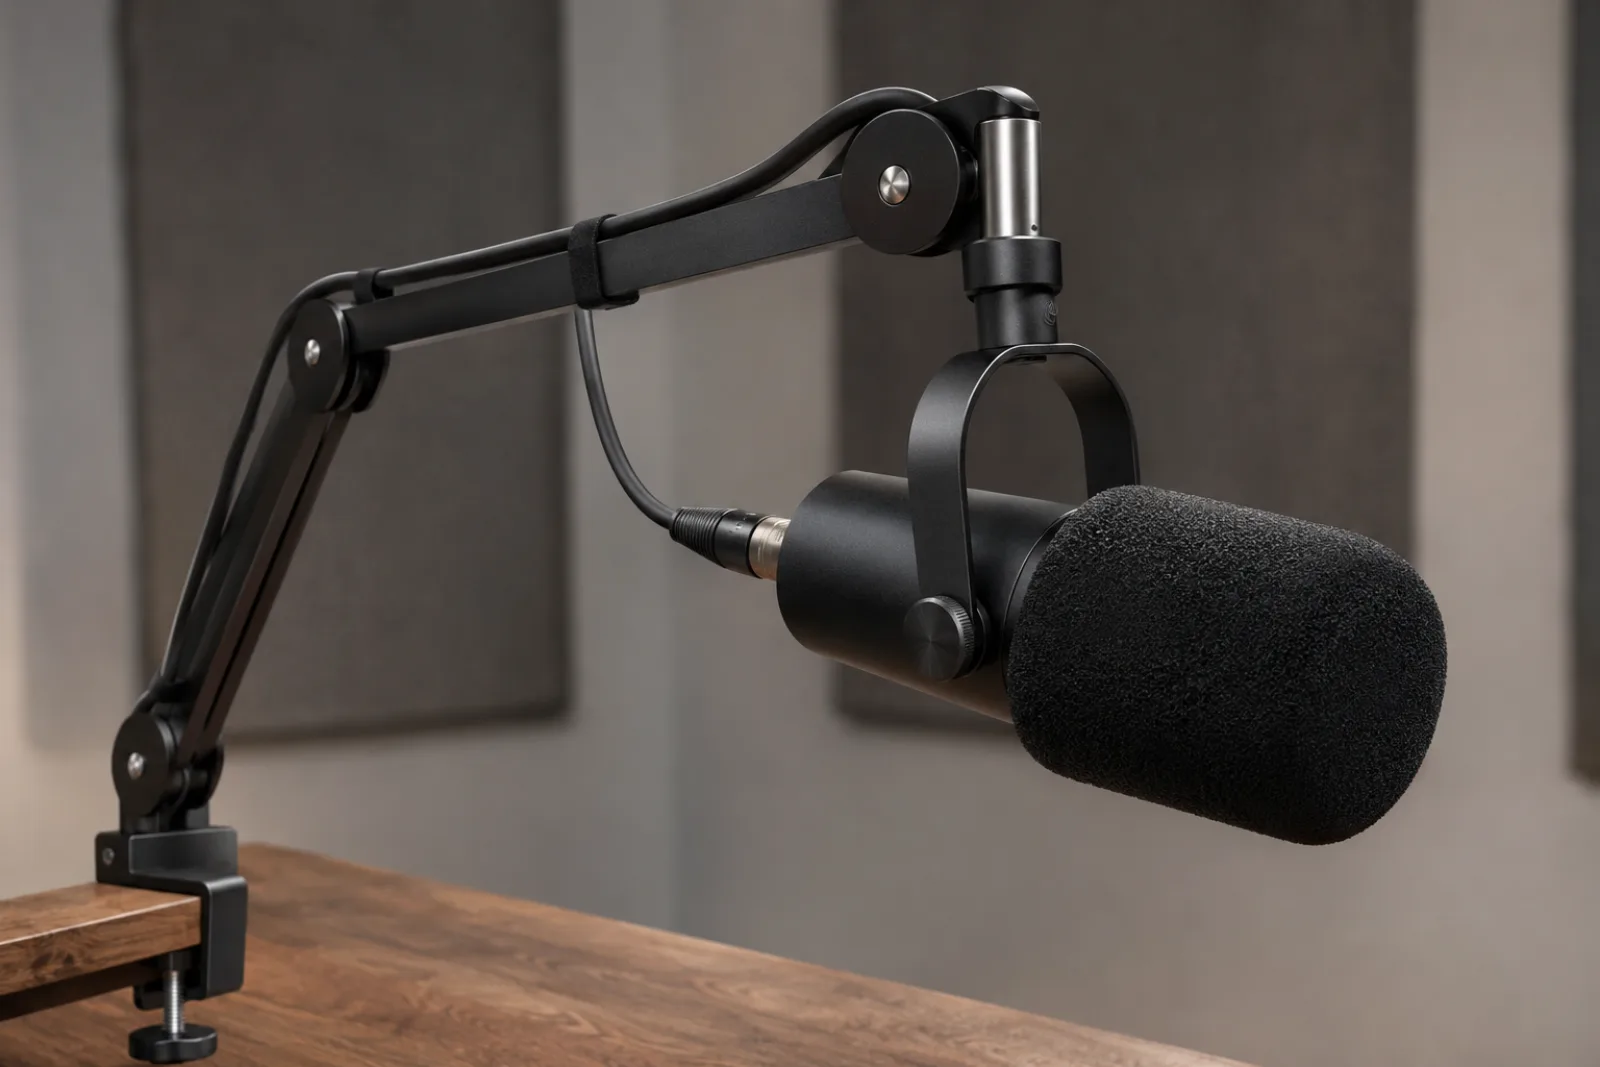
A dynamic mic on a boom arm. The foam windscreen does the job of a pop filter. In use, swing the arm so the mic sits 10 to 15 cm from your mouth, slightly off to the side.
Pop filter or foam windscreen: a cheap add-on that reduces plosives. Some podcast mics have one built in.
Two or more people: give everyone their own mic at the same distance from their own mouth, and point each mic away from the other speakers. Each voice then dominates its own track, which makes editing much easier.
Step 4: Set your gain
Gain is how much the interface or mic boosts the signal before it is recorded. Too low, and you have to boost it later along with the noise. Too high, and loud moments clip: the top of the waveform is cut off and distorts, and that damage cannot be fully undone.
- Open your recording app and find its input level meter.
- Talk at your normal podcast volume, then laugh and say something louder than usual.
- Adjust the gain knob (or the input level in your software) so normal speech sits around the middle of the meter and the loud moment stays clearly below the top.
- Record ten seconds, listen back on headphones, and adjust once more.
If a level goes red even once during the test, turn the gain down.
Step 5: Monitor with headphones
Wear closed-back headphones while you record. You will hear plosives, cable crackle, a buzzing fan or a mic pointed the wrong way while you can still fix it, not afterwards. Headphones also stop a guest's voice coming out of speakers and into your mic.
If your interface or USB mic has a headphone output with direct monitoring, use it: you hear yourself without the delay a computer can add.
Step 6: Fix the room before the gear
Most "bad mic" problems are really room problems.
- Echo: record in the room with the most soft surfaces: carpet, curtains, a bed, a sofa, a full closet. A duvet hung behind the mic helps.
- Hum and hiss: switch off fans, air conditioning and fridges if you can, and move away from computers with loud fans.
- Hard desk: a towel under the stand stops reflections and bumps from the desk.
Record ten seconds of speech and five seconds of silence, then listen. Change one thing at a time.
When the room still gets in: cleaning up afterwards
Sometimes you cannot control the room: a guest's office, a hotel, a neighbor's renovation. Free tools such as Audacity's Noise Reduction handle steady noise; five ways to clean up audio without recording again covers the options.
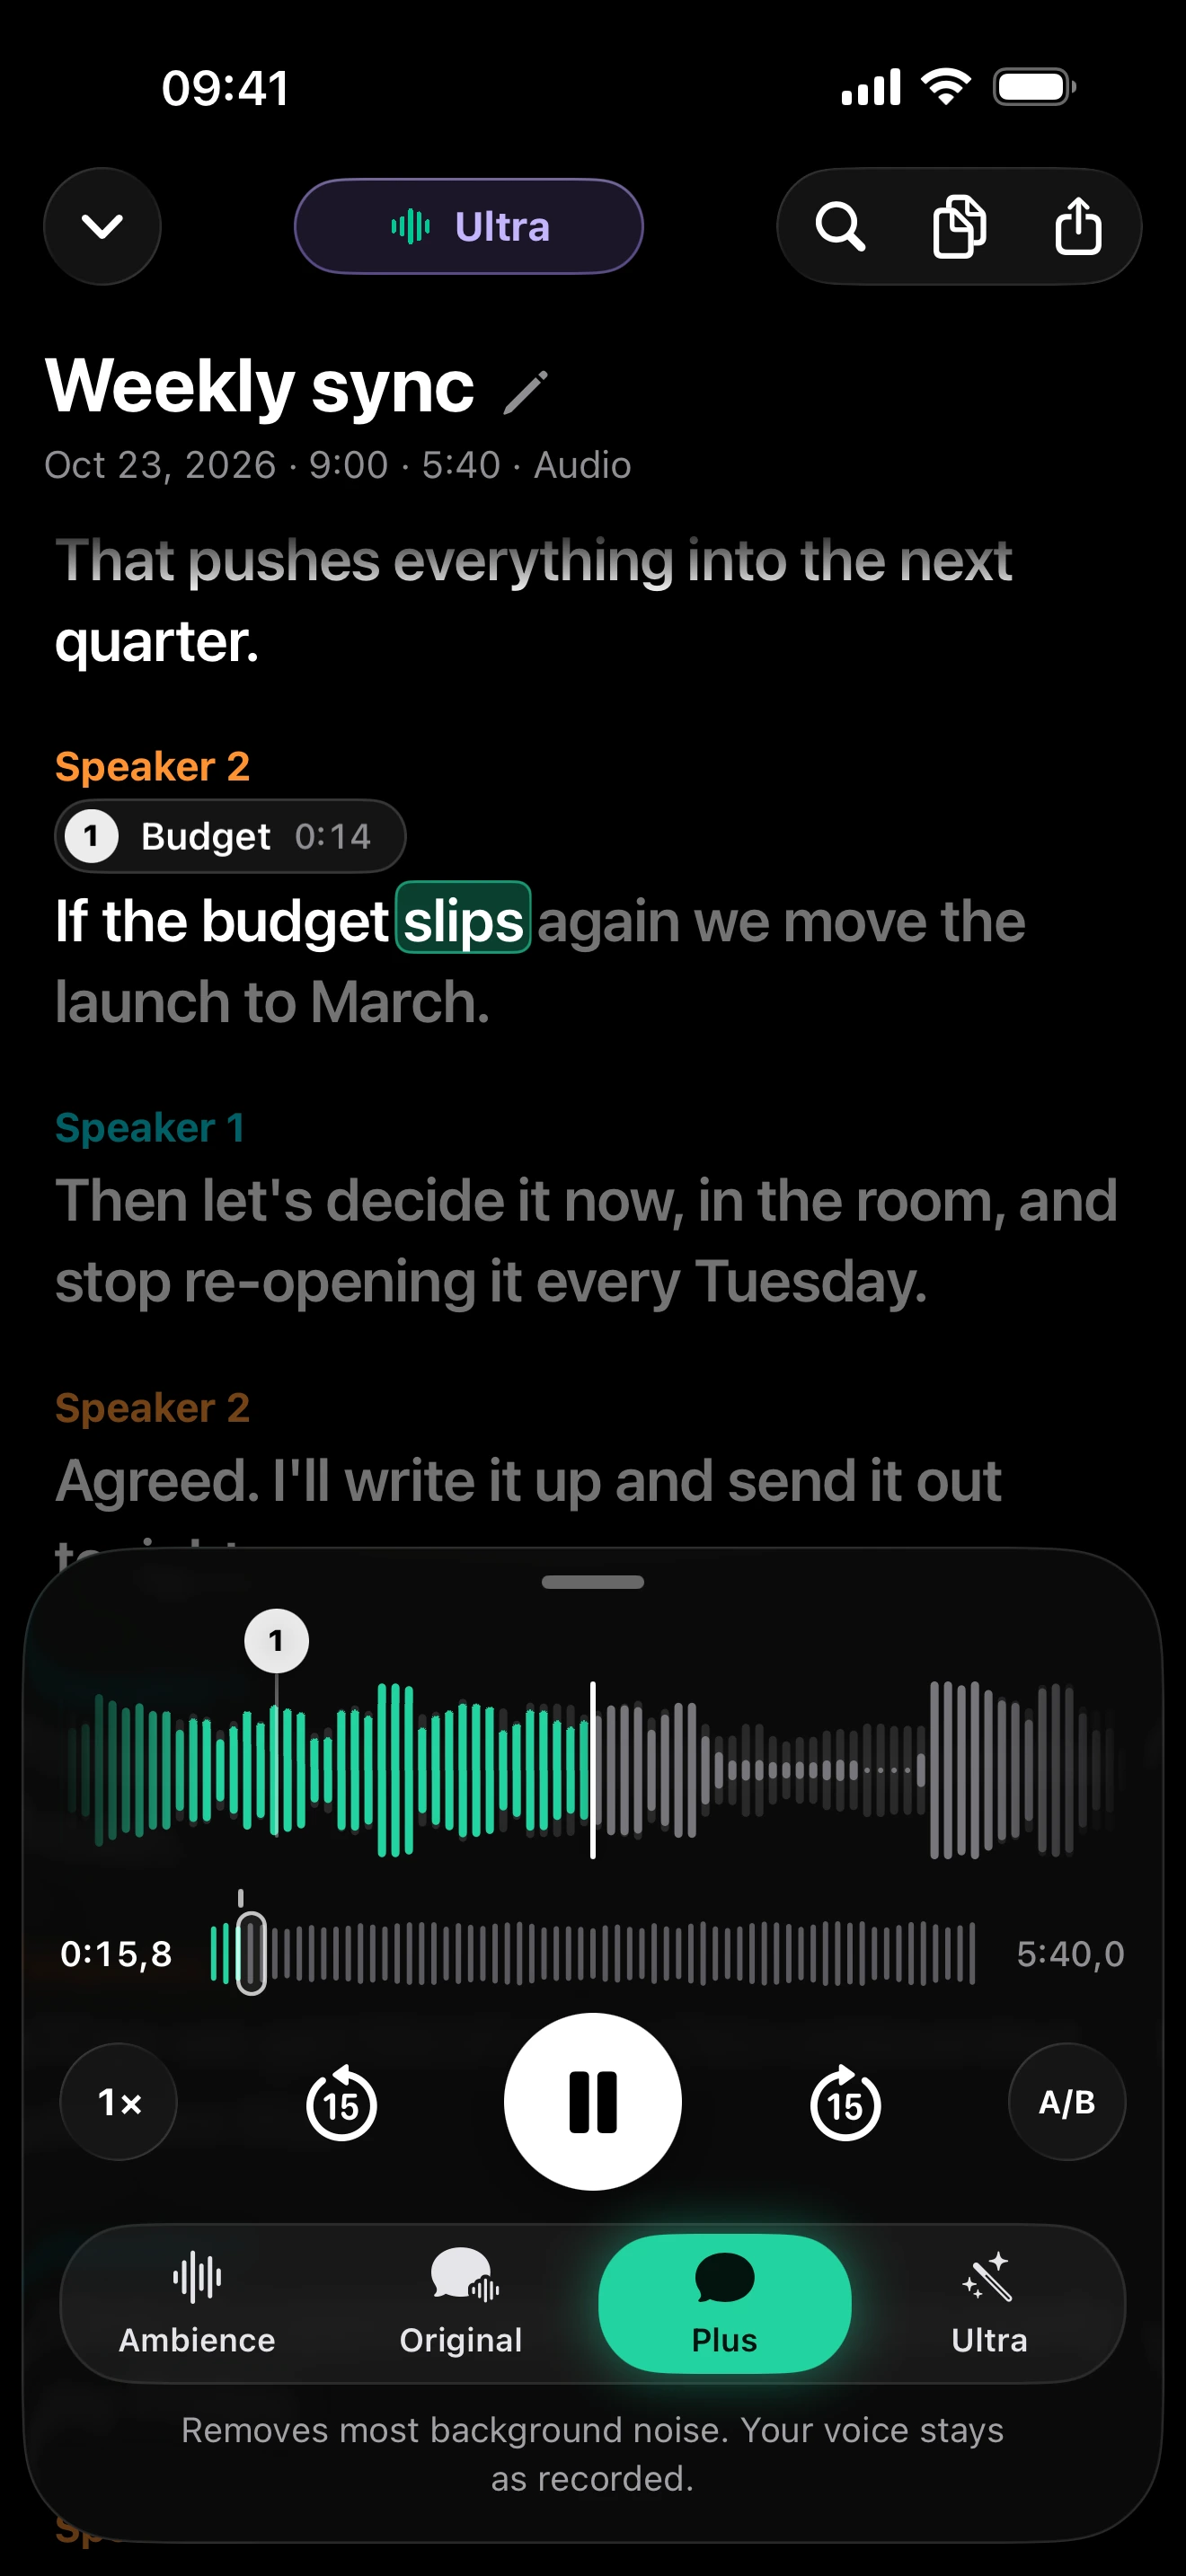
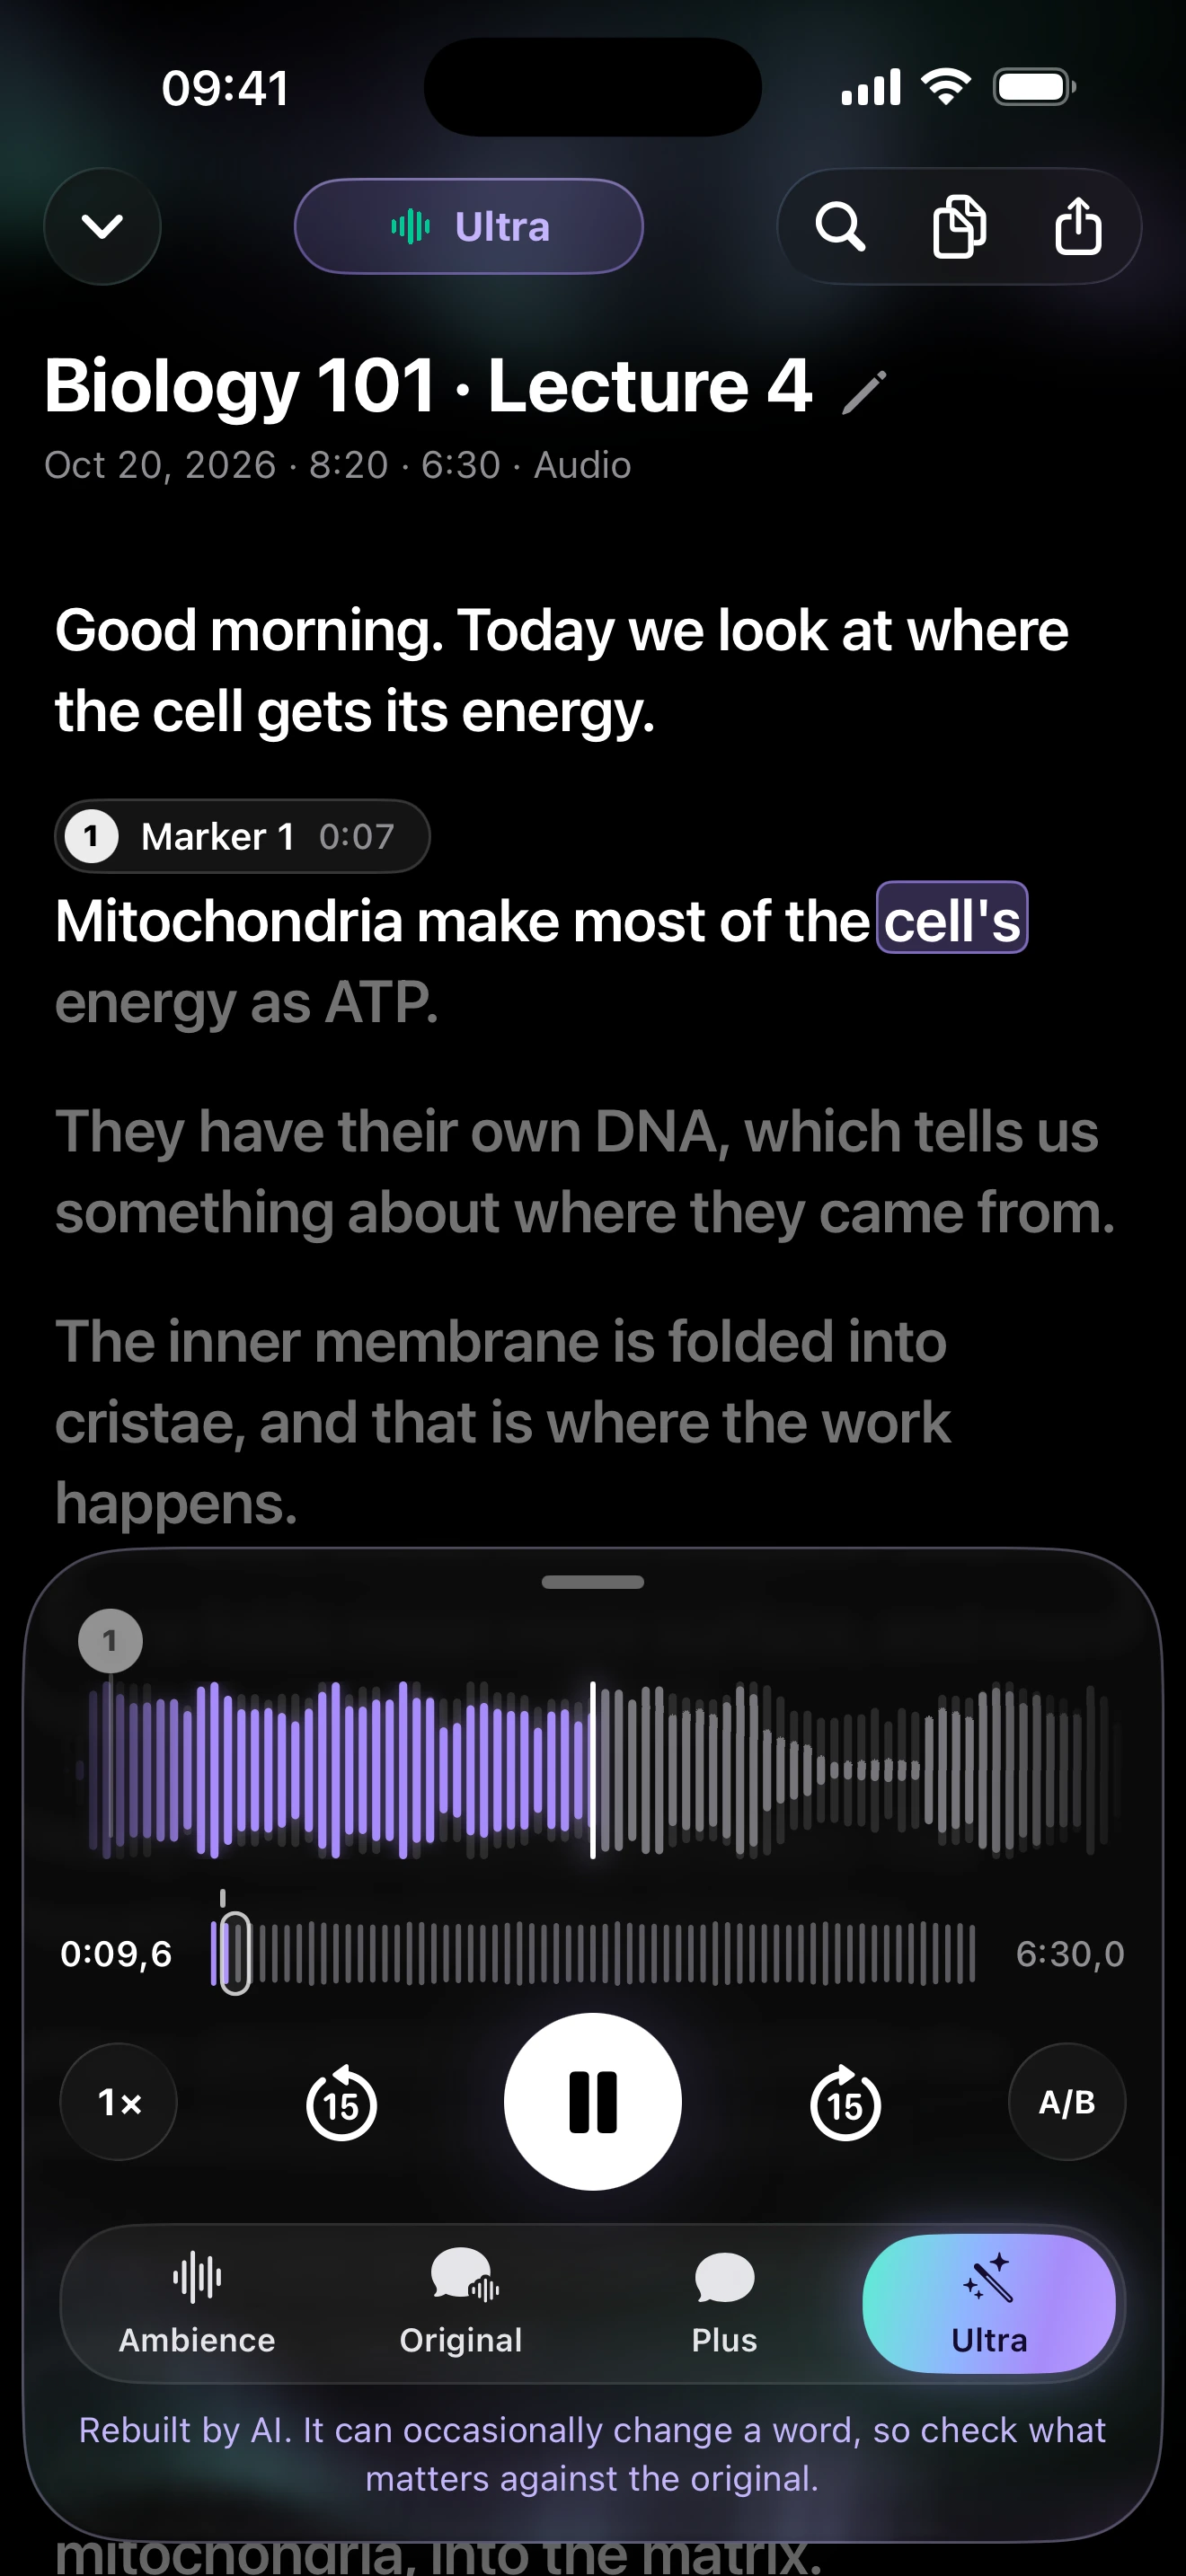
clir Voice is one option on iPhone and iPad. You can import a recording (from Voice Memos, Files or the camera roll) and preview the enhancements for free; keeping the cleaned version needs a subscription:
- Plus removes background noise such as traffic, cafés, wind and room noise. The voice stays as recorded.
- Ultra removes background noise and reverb or echo, then rebuilds the voice with AI for a studio-microphone sound. It suits echoey rooms and speakers who sat too far from the mic. AI reconstruction can occasionally change a word, so check names, numbers and quotes against the original.
The original recording always stays available, so you can compare before you decide. Here is read speech recorded at a distance, as Original, Plus and Ultra:
Original
Plus
Ultra
Reference words
THEN THEY STARTED ON AGAIN AND TWO HOURS LATER CAME IN SIGHT OF THE HOUSE OF DOCTOR PIPT
THAT IS ONE REASON YOU ARE OJO THE UNLUCKY SAID THE WOMAN IN A SYMPATHETIC TONE
Sample details & credits
Read speech with added noise or room effects. Plus and Ultra processed in clir Voice 2.3 (5), iOS Simulator. Playback loudness adjusted.
LibriSpeech: Vassil Panayotov, Guoguo Chen, Daniel Povey and Sanjeev Khudanpur, from LibriVox audiobooks. CC BY 4.0.
Other tools
- Your interface's software or your recorder's settings: some include a low-cut (high-pass) filter that removes rumble below speech. Use it if you hear traffic or air conditioning.
- Audacity (free, Windows, Mac, Linux): Noise Reduction, a high-pass filter and Loudness Normalization after recording.
- A desktop editor's voice cleanup (Premiere Pro, DaVinci Resolve) if you edit video podcasts there.
Prevention for next time
- Mark the mic position (tape on the desk or the boom arm) so every episode starts from the same distance.
- Note your gain setting once it works, and check it before each session.
- Do a ten-second sound check on headphones before every recording.
- Keep every original file before you edit or clean anything.
- If guests record remotely, send them the same placement and headphone advice.
FAQ
How far should a podcast mic be from your mouth?
For a dynamic mic, about 4 to 6 inches (10 to 15 cm); for a condenser, about 6 to 8 inches (15 to 20 cm). Closer adds bass and plosives, further away adds room sound. Pick a distance and keep it constant.
Is USB or XLR better for podcasting?
USB is simpler and fine for one or two people. XLR needs an interface but lets you record several mics on separate tracks into one device. A dual USB/XLR mic lets you start simple and switch later.
Should I use a dynamic or condenser mic for a podcast?
In an untreated room, a dynamic mic usually sounds better because it picks up less of the room. A condenser can sound more detailed in a quiet, soft room, but it also captures more echo and background noise.
What should my mic gain be set to?
Set it so normal speech sits around the middle of the input meter and your loudest moments stay clearly below the top. Clipping cannot be fully repaired later, so leave headroom.
Do I need a pop filter?
It helps if you hear popping on "p" and "b" sounds. Angling the mic slightly off your mouth does a lot of the same work, and some podcast mics have a filter built in.