clir Voice · Video sound
How to Reduce Echo in a Room for Recording (Home & Phone)
How to reduce echo in a room for recording: the clap test, free fixes with rugs, curtains and duvets, mic distance and phone tips.
To reduce echo in a room for recording, cover the hard surfaces near you with soft, heavy material (rugs, curtains, duvets, sofa cushions, full bookshelves) and move the microphone much closer to your mouth, ideally 15 to 30 cm (6 to 12 inches). Recording inside a closet full of clothes or a "blanket fort" works surprisingly well and costs nothing. Do a quick clap test before and after each change so you know it helped.
This guide is about the room, before and while you record. If you already have an echoey recording, see how to remove echo from video or audio.
Why rooms echo
Your voice leaves your mouth in every direction. In a room with hard, flat surfaces (bare walls, tile, wooden floors, glass, a desk), most of that sound bounces back and reaches the microphone a few milliseconds after your direct voice. The microphone records both, and the result sounds hollow, distant or "bathroom-like".
Two things make it worse:
- Parallel hard surfaces. Two bare walls facing each other, or a bare floor and ceiling, can bounce sound back and forth. That creates a fast, ringing echo often called flutter echo.
- Empty space. An empty room has nothing to absorb or break up the reflections. That's why a freshly moved-into apartment sounds so much louder than the same room once it is furnished.
Soft, heavy and uneven things fix both problems. Soft material absorbs part of the sound instead of reflecting it. Uneven surfaces, like a bookshelf with books of different sizes, scatter it so it doesn't come back in one clean echo.
Do the clap test
Stand where you plan to record and clap once, sharply. Listen to what happens right after the clap:
- A short, dry clap with almost no tail means the spot is already fairly quiet.
- A clear ring or "zing" after the clap means flutter echo between parallel surfaces.
- A long, washy tail means the room has a lot of reverb overall.
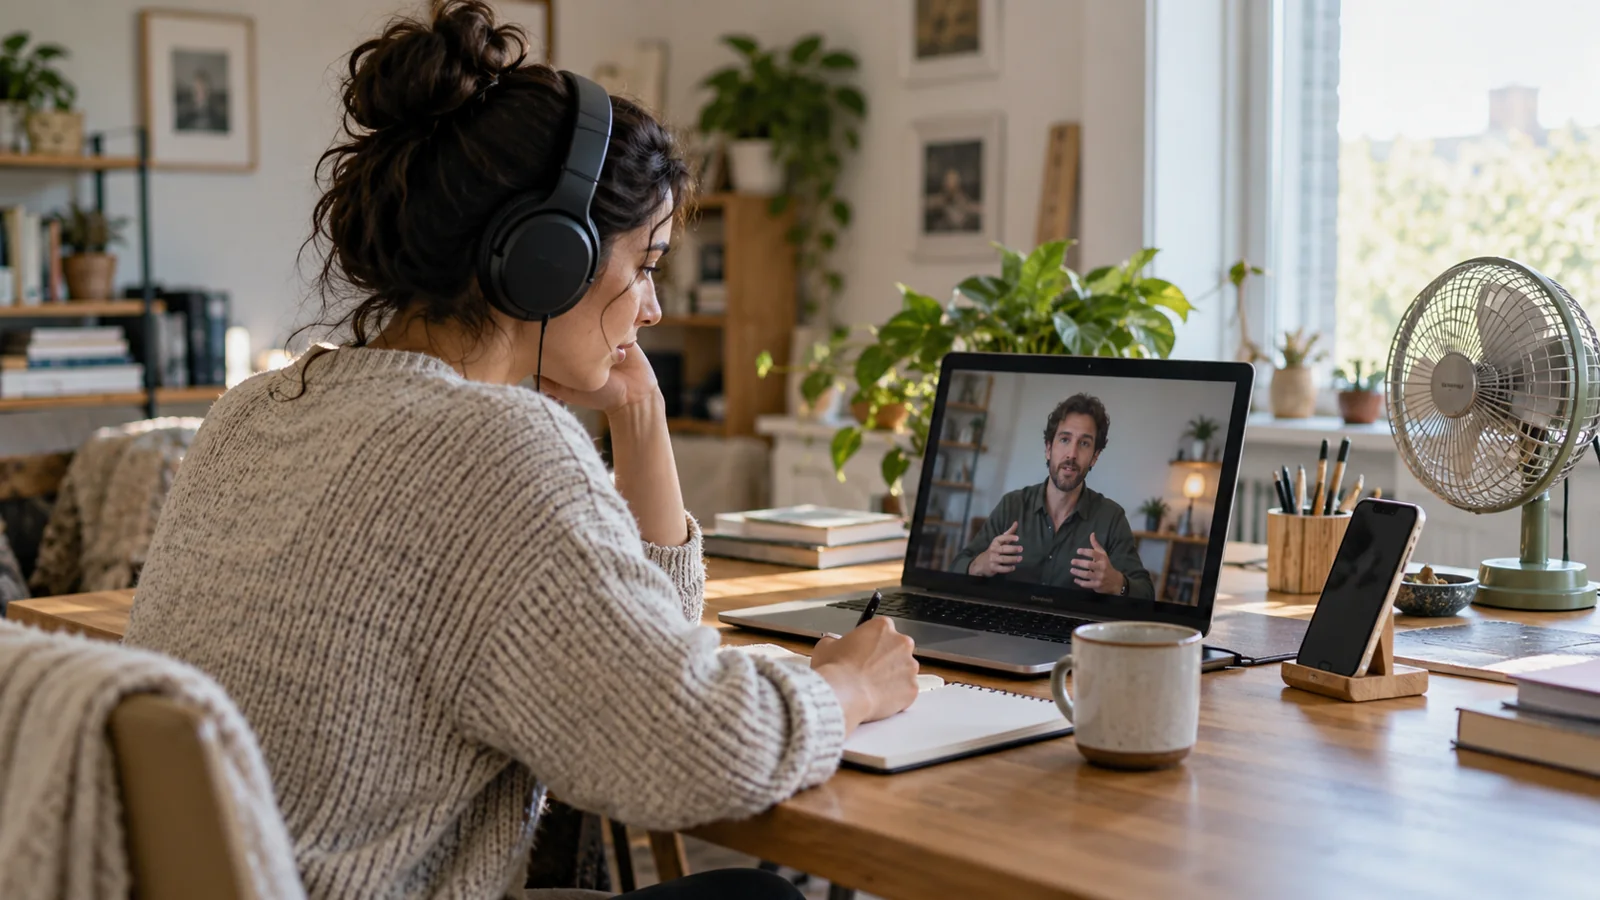
Then do the more important test: record a few spoken sentences with the setup you will really use, and play them back on headphones. Listen to the end of each sentence. If the last word hangs in the air, you have echo to deal with. Repeat the clap and the spoken test after every change, so you know which change made the difference.
Cheap fixes with things you already own
You don't need acoustic foam. Household items that are soft, thick and large do most of the work.
- Rugs and carpets. A bare floor is one of the biggest reflectors. Put a rug between you and the microphone, or under your chair and desk.
- Curtains. Close heavy curtains over windows. Glass is very reflective, and a curtain covers a large area in one move.
- Duvets and blankets. Hang a thick duvet or a couple of blankets on the wall behind the microphone, or drape them over two chairs or a clothes rack placed around you. The classic "blanket fort" looks silly and works well.
- Bookshelves. A full bookshelf, with books of different depths, breaks up reflections. Recording facing a full bookshelf usually sounds better than facing a bare wall.
- Sofa cushions and pillows. Stack cushions on the desk around the microphone or prop them behind your phone. They help most when they are close to the microphone.
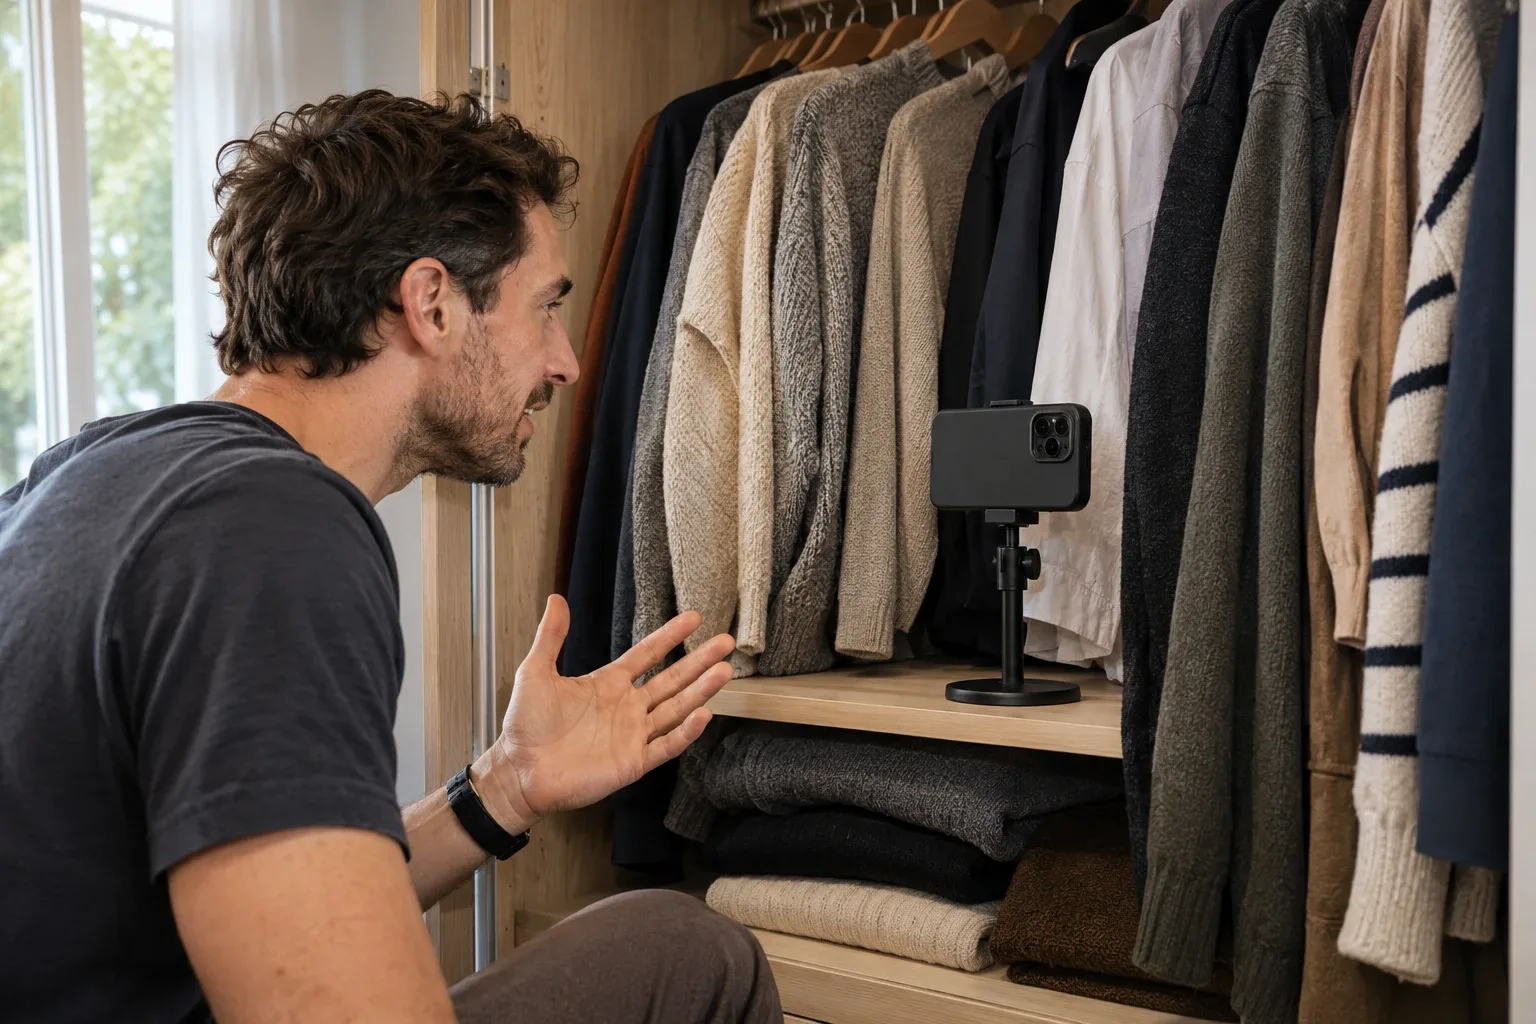
- A closet full of clothes. Hanging clothes absorb sound from every side. For a voiceover, podcast or narration where you don't need to be on camera, recording into an open wardrobe is one of the most effective free setups there is.
Focus on the surfaces closest to you and the microphone first. A duvet right behind the phone does more than a curtain on the far side of the room. The wall your voice hits first (the one you face) is usually the most important spot to cover.
Get the microphone closer
Distance is the fix most people underestimate. The closer the microphone is to your mouth, the louder your direct voice is compared with the room's reflections. As a rough rule, halving the distance makes your voice about 6 dB louder at the microphone, while the room sound stays about the same.
Useful distances:
- Handheld phone or Voice Memos: about 15 to 25 cm (6 to 10 inches) from your mouth, slightly off to the side so your breath doesn't hit the microphone directly.
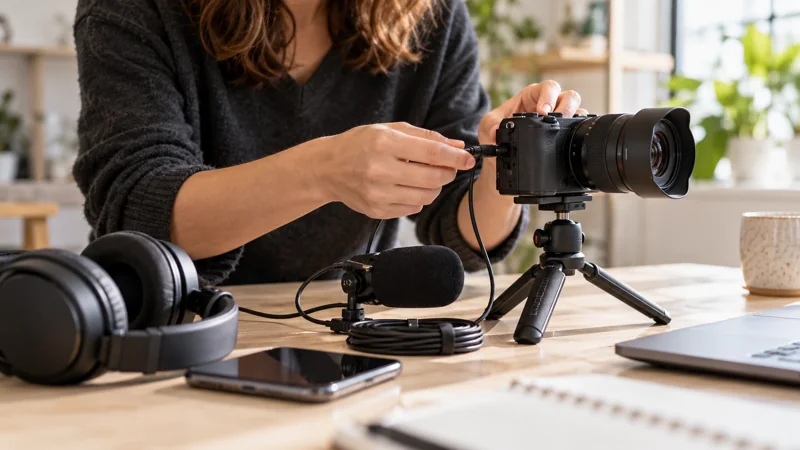
- Phone on a tripod filming you: often 1 m (3 feet) or more away, which is where echo gets bad. A lapel (lavalier) microphone clipped about 15 to 20 cm (6 to 8 inches) below your chin fixes this better than any blanket.
- USB or desk microphone: about 10 to 20 cm (4 to 8 inches), following the maker's guidance for that microphone.
If you only change one thing, change the distance.
Corner, center or wall?
Where you sit in the room matters too.
- Avoid the middle of an empty room. You are surrounded by reflections arriving from all sides at similar times.
- Don't speak straight into a nearby bare wall. Your voice hits it and bounces straight back into the microphone. Turn so you face into the room, a bookshelf, curtains or the duvet you hung.
- Corners are mixed. A bare corner tends to build up low, boomy sound. A corner filled with soft furniture, or with a duvet hung across it, can be one of the quietest spots in the room.
In practice: try two or three positions, record the same sentence in each, and keep the one that sounds driest on headphones.
Phone-specific tips
Phones are easy to use and also easy to place badly. A few tips that help:
- Know where the microphone is. On an iPhone, the main microphones are at the bottom edge, near the speaker grilles, with others near the cameras. Don't cover them with your hand or a case.
- Bring the phone closer, then frame. Set the distance for the sound first, then adjust the framing. Or record the sound separately with a lapel microphone or a second phone held close (in Voice Memos), and line it up in your editor.
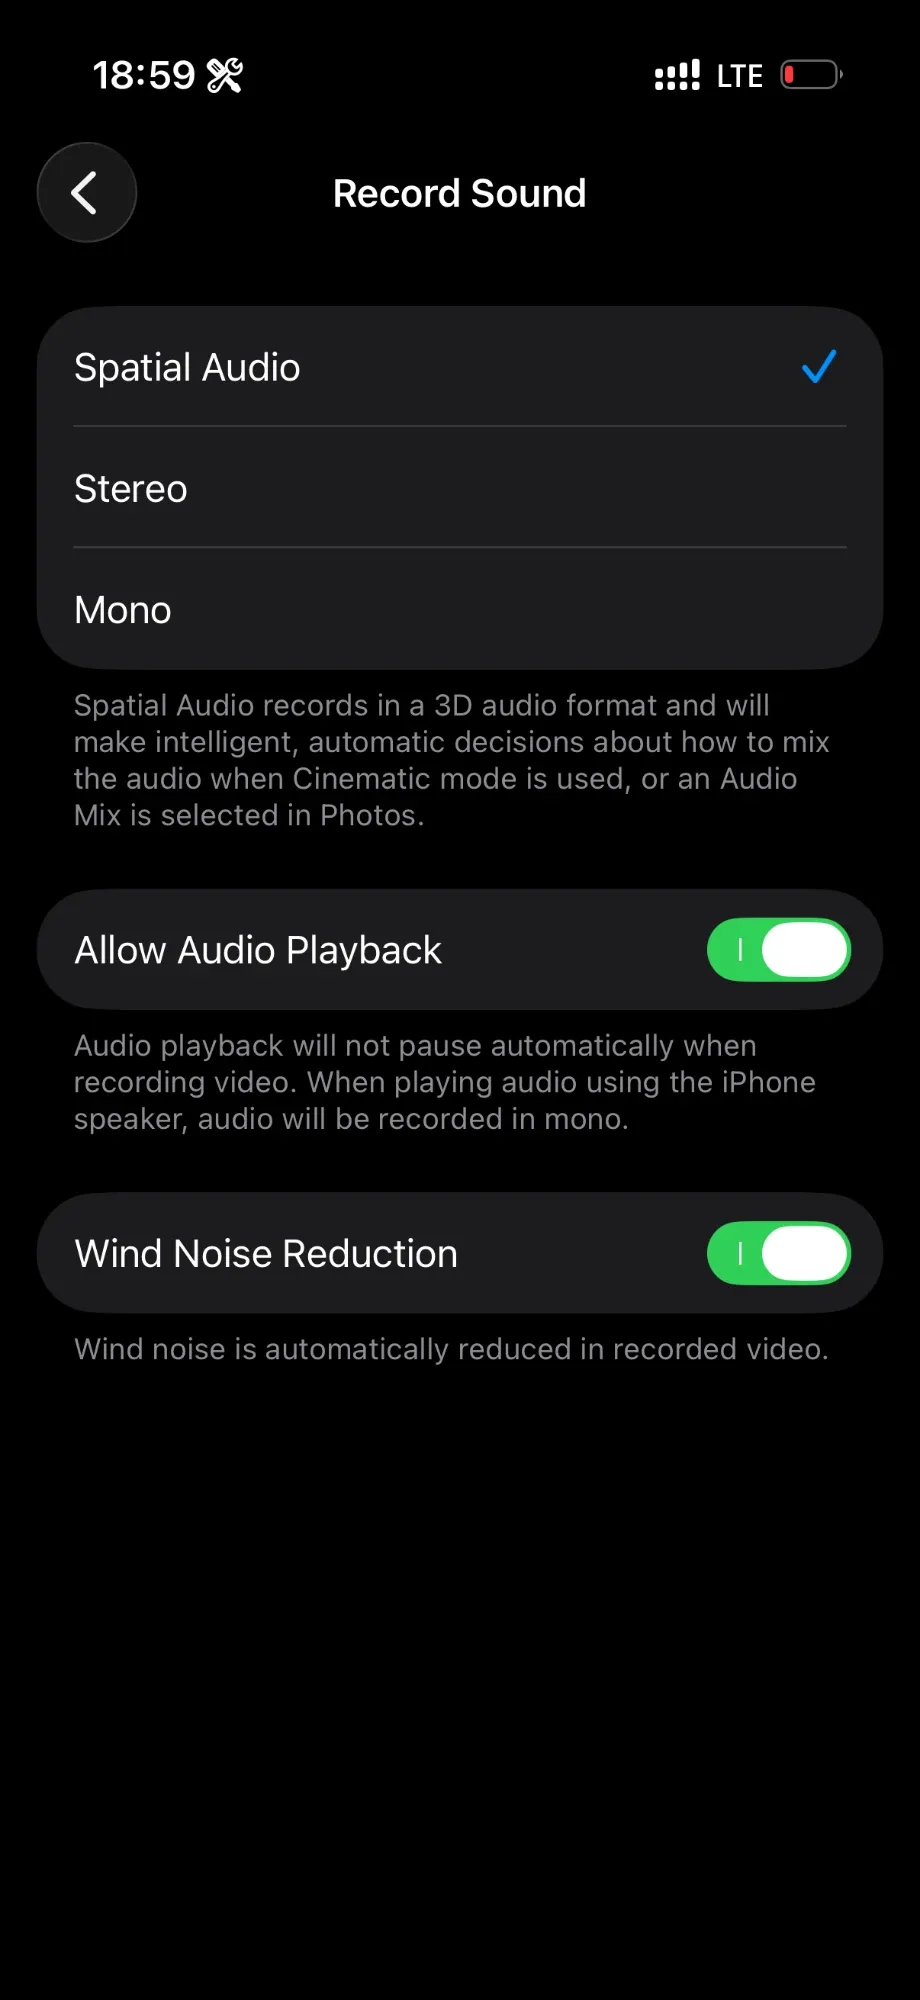
- Check your recording format. In Settings → Camera → Record Sound, iPhone 16 and later can record video in Spatial Audio, Stereo or Mono. Apple notes that Spatial Audio is what lets you use Audio Mix in Photos later, including its Studio option that reduces background sound and reverb. Recording in Spatial Audio keeps that option open.
- Turn off noise sources. Fans and air conditioning add their own problems. For hum, fans and other steady noise, see the YouTube audio checklist.
- Microphone quality matters less than distance. If you are thinking about buying one, the same YouTube audio checklist covers it.
Hear what room echo does to a voice
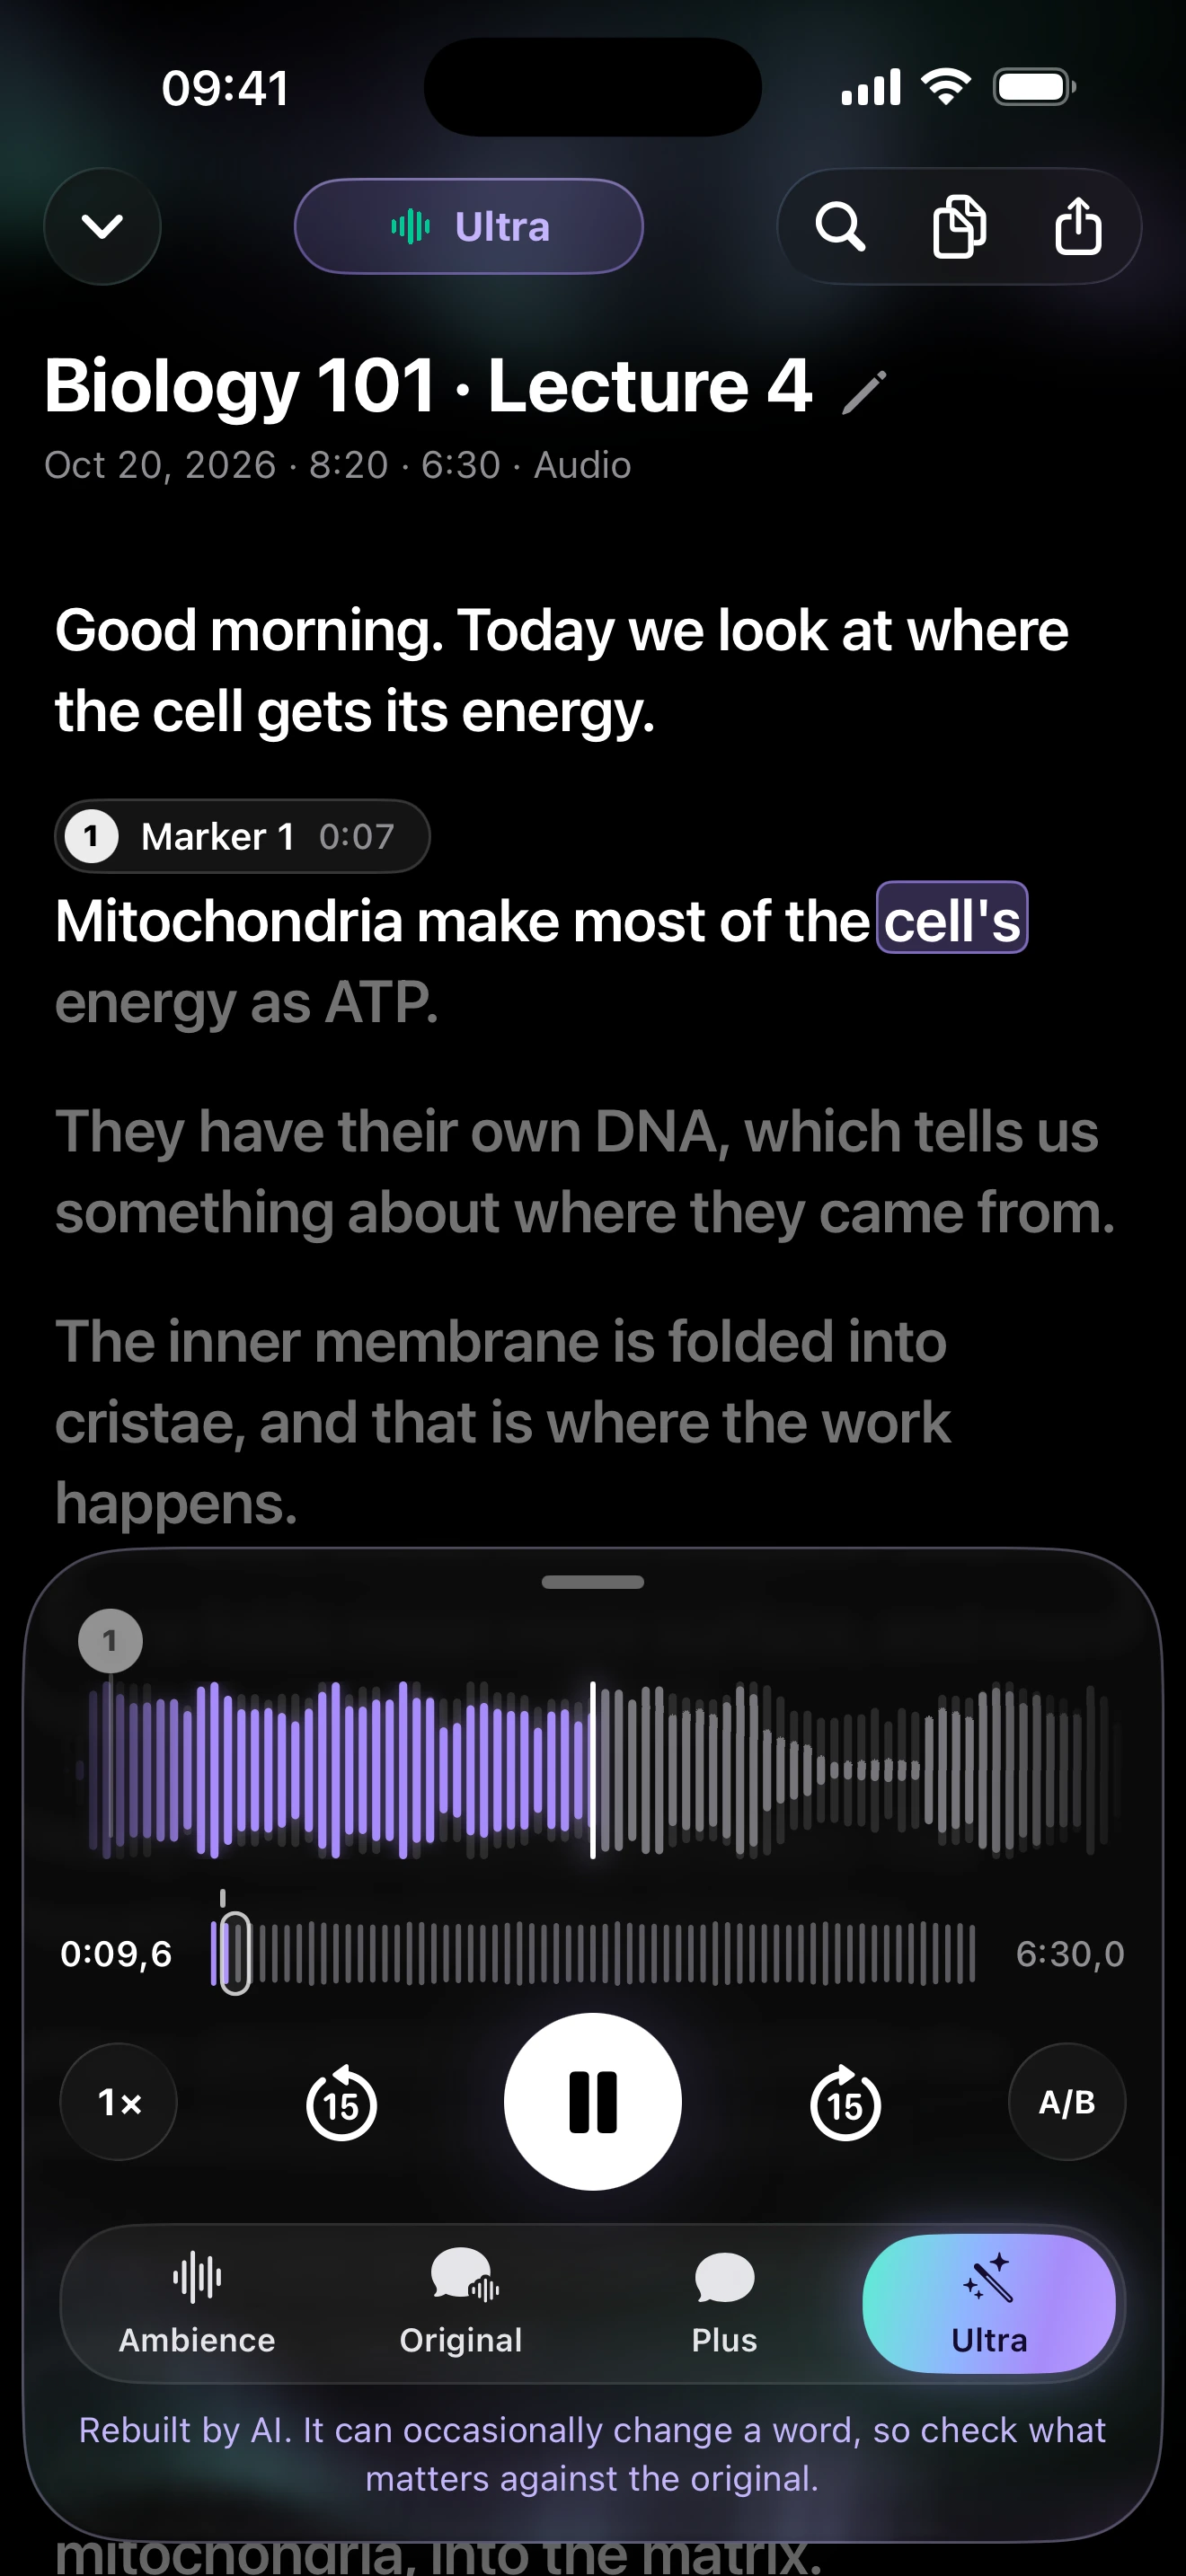
The players below use the same read speech with an added room effect, as recorded (Original), with clir Voice Plus and with clir Voice Ultra. It gives you a sense of what a reverberant room adds to a voice, and what can and cannot be removed afterward. Plus is built to remove background noise and leaves the voice as recorded; Ultra also removes reverb and echo and rebuilds the voice.
Original
Plus
Ultra
Reference words
FIND SOME CRESSWELLS THERE BIG PLANTATIONS RATED AT TWO HUNDRED AND FIFTY THOUSAND DOLLARS
MISS TAYLOR DID NOT KNOW MUCH ABOUT COTTON BUT AT LEAST ONE MORE REMARK SEEMED CALLED FOR
Sample details & credits
Read speech with added noise or room effects. Plus and Ultra processed in clir Voice 2.3 (5), iOS Simulator. Playback loudness adjusted.
LibriSpeech: Vassil Panayotov, Guoguo Chen, Daniel Povey and Sanjeev Khudanpur, from LibriVox audiobooks. CC BY 4.0.
Even with good tools, fixing echo afterward is harder than avoiding it. A few minutes with a duvet and a closer microphone often save you that step.
If the echo is already recorded
Sometimes you can't redo the take. On iPhone, Photos Audio Mix → Studio (for Spatial Audio videos on iPhone 16 or later) and Voice Memos Enhance Recording can reduce echo. clir Voice is one option on iPhone: its Ultra version removes reverb and echo and rebuilds the voice, for audio and for video. AI reconstruction can occasionally change a word, so always check names, numbers and quotes against the original. The full walkthrough is in how to remove echo from video or audio.
Prevention checklist for your next recording
- Pick the smallest, most furnished room you have, or a closet full of clothes.
- Put a rug on the floor and something soft (duvet, curtains, cushions) on the surface you face.
- Get the microphone within 15 to 30 cm (6 to 12 inches) of your mouth, or use a lapel mic.
- Don't speak straight into a bare wall, and avoid the middle of an empty room.
- Record ten seconds, listen on headphones, change one thing, record again.
For recording in noisy places rather than echoey ones, see my iPhone setup for recording in noisy places.
FAQ
How can I make a room less echoey for free?
Use what you already own: rugs on the floor, heavy curtains over windows, duvets or blankets hung behind the microphone, and cushions near the microphone. Then move the microphone closer to your mouth. Recording into a closet full of clothes is one of the most effective free options.
Does acoustic foam stop echo?
Thin foam panels absorb mostly higher frequencies and can reduce flutter echo, but they don't do much for low, boomy room sound. For voice recording, a thick duvet or heavy blanket placed close to the microphone often does a similar job. Foam is not a soundproofing material: it won't stop noise from outside.
Why does my voice sound echoey on my phone recordings?
Usually because the phone is too far from your mouth in a room with hard surfaces. At arm's length or on a tripod, the microphone picks up a lot of the room along with your voice. Bring the phone to about 15 to 25 cm (6 to 10 inches), or use a lapel microphone.
Is it better to record in a small or a large room?
A small, furnished room is usually easier than a large, empty one, because there are more soft surfaces close by. A small, completely bare room (like a tiled bathroom) can be the worst of all. What matters most is how much soft material is near you and how close the microphone is.
Can I remove echo after recording?
Partly. iPhone's Audio Mix Studio option, Voice Memos Enhance Recording and AI tools like clir Voice Ultra can reduce echo, but results depend on how strong it is. Our guide on how to remove echo from video or audio covers the options.